Skip to content
 How to Adjust Row Height in Excel (5 Easy Ways)
In a spreadsheet, Excel cells are cleanly segmented into rows and columns.
Additionally, one of the frequent activities you must complete while dealing with data in Excel is modifying the row height based on your data (or adjusting the column width).
In this brief Excel lesson, I’ll walk you through five different Excel techniques to adjust the row height.
This instruction explains:
1. Adjust the row height (Using the Mouse) 2. The Mouse Double Click Technique 3. Setting the Row Height Manually 4. Shortcut on the Keyboard To Set the Row Height 5. Automated Rows 6. Can We Modify Excel's Default Row Height?
1. Adjust the row height (Using the Mouse)
Using the mouse is the quickest and most frequent way to modify the row height in Excel.
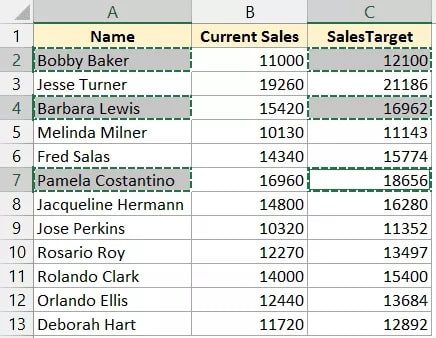
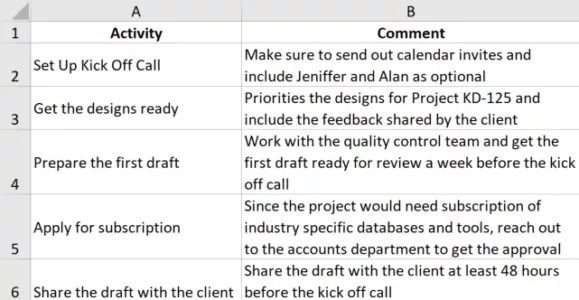
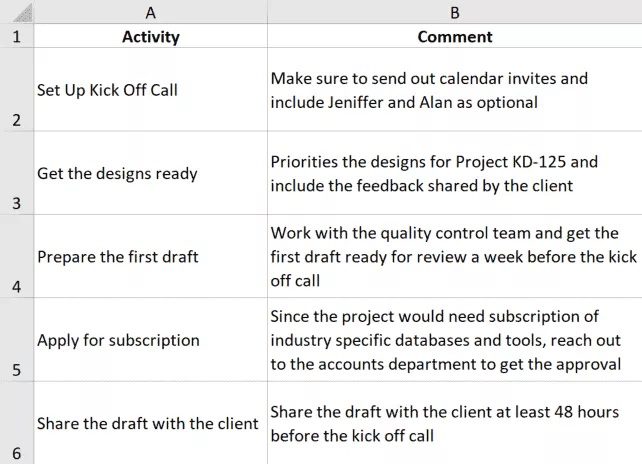
Let’s say you wish to adjust the third row’s row height in a data collection like the one below (so that the entire text is visible in the row).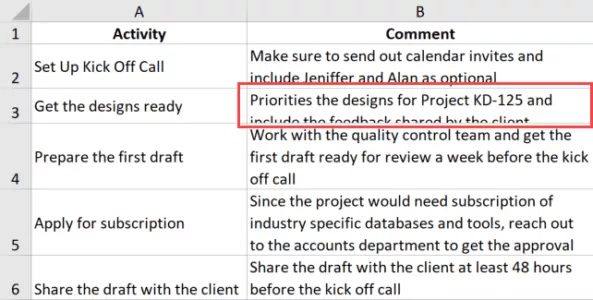
The methods to modify the row height in Excel using the mouse are as follows:
- Set the cursor on the row header’s bottom border where you wish to modify the height. The cursor will transform into a + sign, as you can see.

- Press the left mouse button when the pointer is on the row header’s bottom border.
- To raise the row height, continue to hold down the mouse button and drag it downward (or drag it up to decrease the row height)
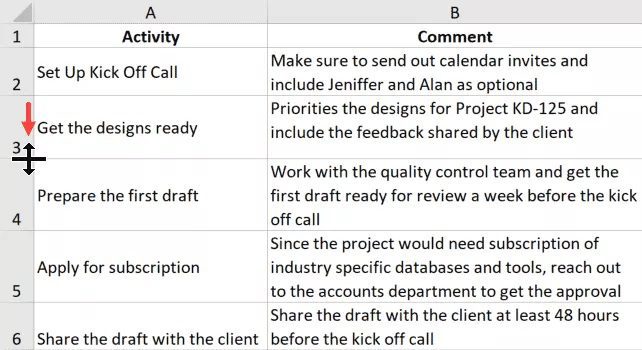
- After finishing, release the mouse button.
If you simply need to adjust the row height for one or a few rows, this is a nice option because it is simple.
You may also do this for many rows. To increase or reduce the height for all the rows, simply use the cursor and drag (for any of the selected rows).
This approach does not consistently produce the same results each time the row height is altered. For instance, it could not be the same if you modify the row height for one row and then again for another row (it may be close but may not exactly be the same)
Let’s examine further techniques that are more exact and useful for changing the row height of several rows at once.
Also read: Excel Tutorial
2. The Mouse Double Click Technique
This is the quickest and simplest option if you want Excel to automatically modify the row height so that the text fits within the cell correctly.
Let’s say you wish to adjust the third row’s row height in a data collection like the one below (so that the entire text is visible in the row).
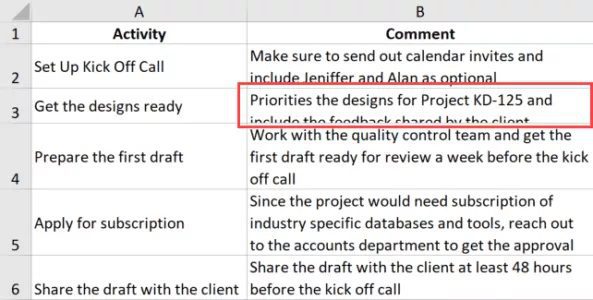
Using a double-click on the mouse, follow these steps to automatically alter the row height:
- Set the cursor on the row header’s bottom border where you wish to modify the height. The cursor will transform into a + sign, as you can see.
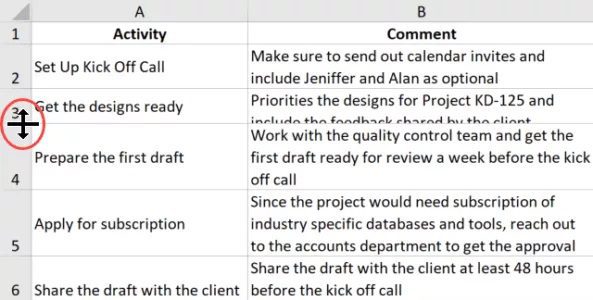
- Double-click with the cursor on the alphabet’s bottom border (press the left mouse key in quick succession)
- After finishing, release the mouse button.
To make sure there is enough room to fit all of the text inside the cell, the row height automatically grows or compresses when you double-click the mouse key.
This is also possible for a variety of cells.
For instance, if you need to set simply the row height for all of your cells and you have numerous cells, click twice on any of the row edges after selecting the row header for those cells.
3. Setting the Row Height Manually
For a row, you can define the precise row height you like (or multiple rows).
Let’s imagine you want to raise the row height of every row in the data collection. You have a data set like the one below.

The procedures are as follows:
By dragging and clicking on the row headings, all the rows are selected (or select the cells in a column for all the rows for which you want to change the height)

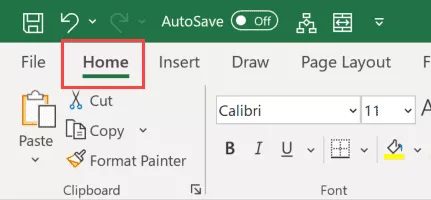
- On the Home tab, click
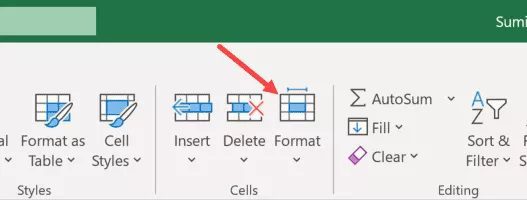
- Click the Format button in the Cells group.
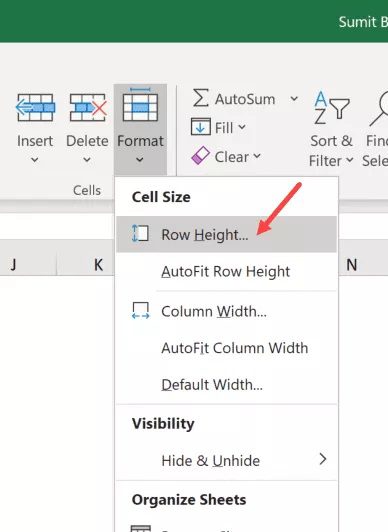
- Select Row Height from the dropdown menu.
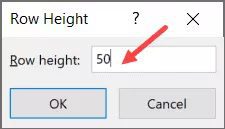
- Enter the desired height for each of these chosen rows in the Row Height dialogue box. In this case, 50 would be my choice.

- Click “OK”
By following the steps above, all of the selected rows’ row heights would be changed to 50. (the default row height on my system was 14.4)
Although you may utilize the mouse double-click technique that was previously discussed, this technique differs in that all of your rows have the same height (which some people find better)
4. Shortcut on the Keyboard To Set the Row Height
Instead, if you would rather use a keyboard shortcut, use this approach.
The keyboard shortcut shown below will open the row height dialogue box so you may manually enter the desired row height value.
ALT + H + O + H (press one after the other) Let’s imagine you want to raise the row height of every row in the data collection. You have a data set like the one below.

The procedures to modify the row height with this keyboard shortcut are as follows:
- If you wish to adjust the height for all the rows, choose the cells in a column for each row.
- Use the shortcut ALT + H + O + H on the keyboard.
- Enter the desired height for each of these chosen rows in the Row Height dialogue box that appears. In this case, 50 would be my choice.
- Click “OK”
Since you can adjust the row height without getting up from your computer, many people choose this technique (if you have a certain height value in mind that you want to apply for all the selected cells).
Although it appears to be a lengthy keyboard shortcut, if you get used to it, it is quicker than the other techniques mentioned above.
5. Automated Rows
The majority of the techniques shown thus far rely on the user providing the row height (either by clicking and dragging or by entering the value of the row height in the dialogue box).
You don’t want to do this manually, though, in many situations.
Sometimes all that is necessary to ensure that the text is seen is to ensure that the row height changes.
Use the autofit option in this situation.
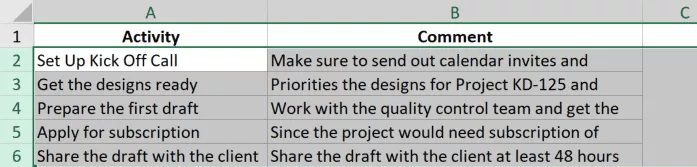
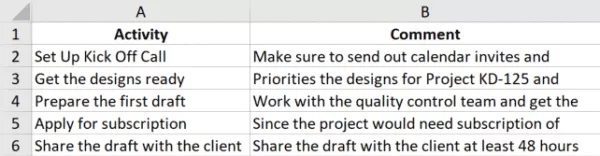
Imagine you have a data set like the one below with more text in each cell, but the extra text is getting chopped off because the cell’s height is insufficient.
The procedures for using autofit to raise the row height such that the text fits in it are as follows:
Choose the rows you wish to automatically fit.

On the Home tab, click

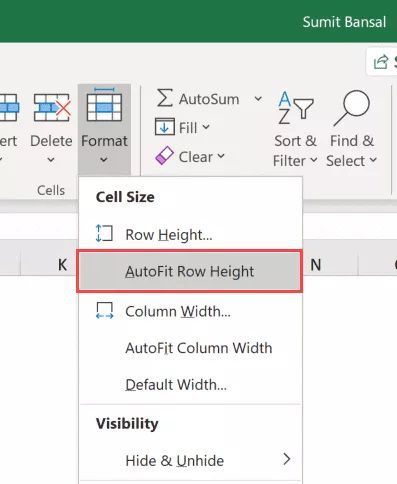
Click the Format button in the Cells group. By doing this, an extra dropdown menu will appear.

Select Autofit Row Height from the menu.
The aforementioned actions would adjust the row height and automatically resize the text such that all of the content in these rows is now visible.
To ensure that there are no additional gaps inside the row whenever the column height is changed, the row height will also change automatically.
You may learn more about autofit in Excel and its further uses here.
6. Can We Modify Excel’s Default Row Height?
Although it would be fantastic to have the ability to adjust the default row height, as of the time this article was written, there was no method to do so.
The default row height in the Excel version I’m using right now (Microsoft 365) is 14.4.
I read in one of the articles I found online that if I changed the default font size, the row height would also change.
Although it appears to work, it’s too untidy (especially considering that any of the approaches I’ve discussed in this lesson only take a few seconds to modify the row height).
In Excel, there is currently no option to set the default row height.
I don’t anticipate Excel will have this capability any time soon, given how simple it is to modify the row height and column width (or ever).
I’ve provided you with 5 simple methods in this guide for fast changing the row height (by using the mouse, a keyboard shortcut, or by using the autofit feature).
The column width can be changed using any of the techniques discussed above.