Creating Custom Lists in Excel (Easy Step-by-Step Guide)
Excel includes various helpful features that enable you to operate more efficiently and effectively every day.
One such helpful (and lesser-known) component is Excel’s Custom Lists.
Let me first describe what’s so fantastic about custom lists before I get to how to create and utilize them.
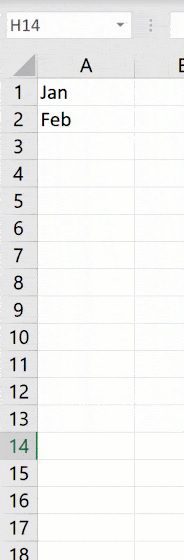
Let’s say you need to input numbers in a column for each of the months from January through December. What method would you use? And it’s not possible to complete it manually.
One of the quickest methods would be to enter January in one box and February in an adjacent cell, then drag the fill handle and let Excel fill in the blanks for you. Excel has the intelligence to understand that you wish to drag the fill handle to the next month in each cell.
Since month names are rather general, Excel includes them by default.
But what if you want to do the same but have a list of department names (or staff names) or product names? You want things to appear magically when you use the fill handle rather than having to manually input them or copy them from somewhere (just like month names).
You may also do that.
… by utilizing Excel’s Custom Lists
In this lesson, I’ll demonstrate how to make your unique lists in Excel and how to utilize them to save time.
This instruction explains:

1. Excel Custom Lists: How to Make Them
2. Create Custom Lists to Create Your Sorting Criteria
3. Several instances when it can be used
1. Excel Custom Lists: How to Make Them
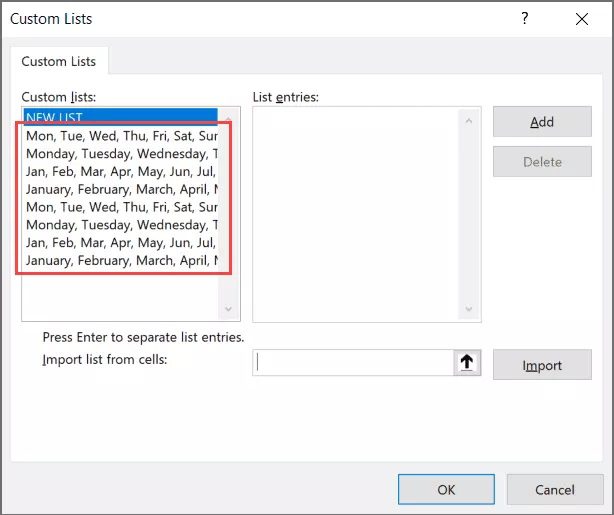
Excel comes with certain pre-fed custom lists by default that you may use to save time.
Use the fill handle to fill in the remaining days, for instance, if you type “Mon” in one cell and “Tue” in the one next to it. If you drag to extend the choices, it will repeat and give you the day’s name once again.
The pre-built custom lists for Excel are listed below. As you can see, the names of the days and months are mostly used since they are constant and will not change.
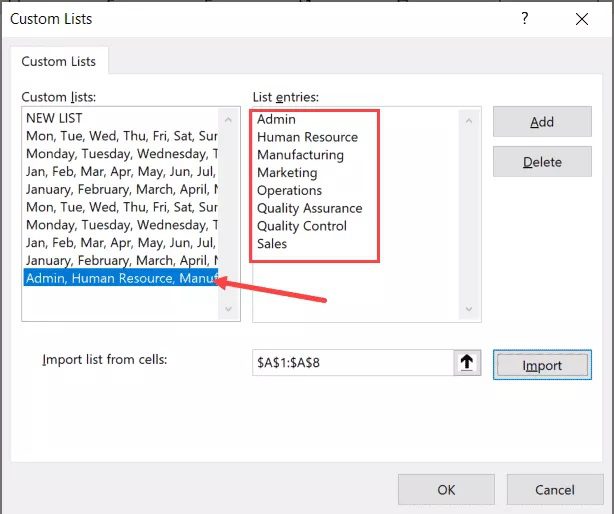
Now, let’s say you want to make a custom list in Excel for a list of departments you frequently use. In this way, you won’t have to go through old papers the next time you need the names of all the departments in one spot. Simply type the first two in the list and drag them into place.

The steps to make your Custom List in Excel are listed below:
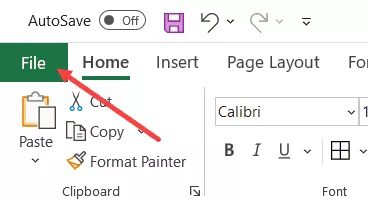
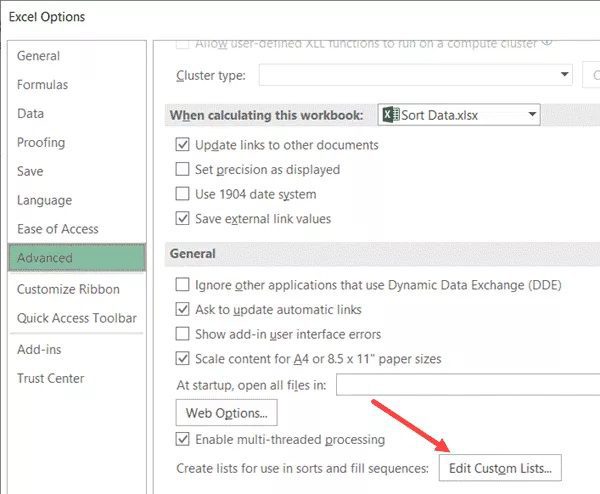
- Go to the File tab.
- Select Options. This will bring up the dialogue box for “Excel Options.”

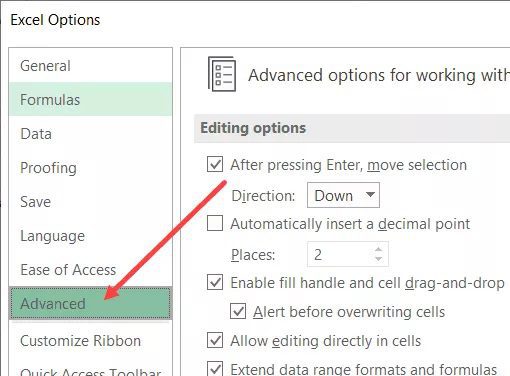
- Select “Advanced” from the menu on the left.
- Click the “Edit Custom Lists” button under the General section (you may have to scroll down to get to this option)
- Import the list by choosing the range of cells that contain it in the Custom Lists dialogue box. As an alternative, you can type the name by hand into the List Entries field (separated by a comma or each name in a new line)
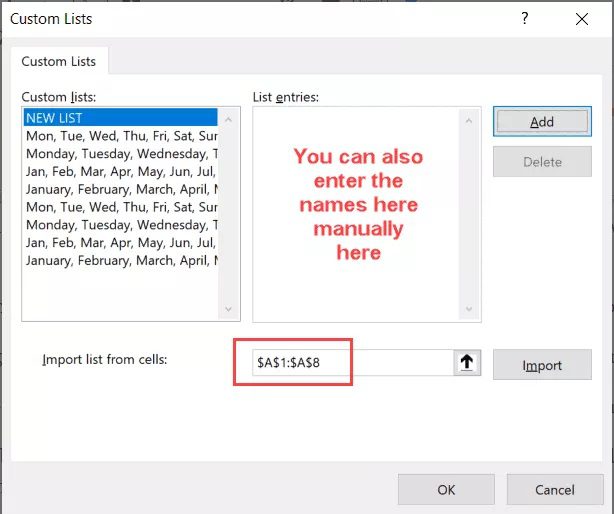
- Select Add
You will see that your list has been added to the Custom Lists as soon as you click Add.
You may also utilize the Import option in the dialogue box if you import a huge Excel list to import a huge list do Excel.
Pro tip: You can also make a named range and utilize it to make the custom list. To accomplish this, click OK after entering the named range’s name in the “Import list from cells” area. The advantage of the approach is that if you modify or broaden the named range, the custom list will is that you modify or broaden the named range, the custom list will also be instantly modified.
As soon as you have the list in Excel’s backend, you may utilize it with Autofill in the same way that you would use numbers or months (as shown below).

While it’s fantastic that you can easily drag and drop these custom list names into Excel, there is something even more spectacular that you can do with custom lists (that is what the following part is about).
2. Create Custom Lists to Create Your Sorting Criteria
One amazing feature of custom lists is that you can design your sorting criteria for them. As an illustration, let’s say you wish to sort a dataset using the criteria High, Medium, and Low.

This is impossible for you to accomplish!
The alphabetical order would be messed up if you sorted alphabetically (it will give you High, Low, and Medium and not High, Medium, and Low).
Custom Lists truly shine in this situation.
You may make your list of components and use it to arrange the information. The High values will be at the top, followed by the Medium values and the Low values.
The first step is to use the procedures outlined in the previous section (“How to Create Custom Lists in Excel”) to create a custom list (High, Medium, Low).

Following the creation of the custom list, you may sort using it by following the instructions below:
- Choosing the full collection (including the headers)
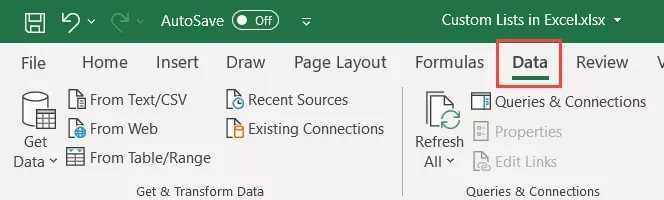
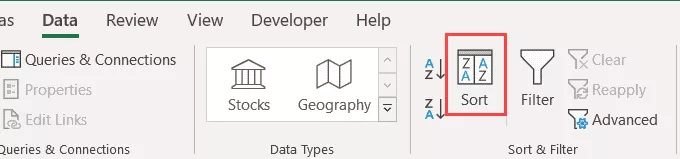
- Go to the Data tab.
- Select the Sort icon from the Sort and Filter group. The Sort dialogue box will then be shown.
- Make the following selections in the Sort dialogue box:
- Column sort: Priority
- Sort based on cell values
- Custom Lists, in order. Select the desired sorting criteria after the dialogue box has opened, and then click OK.

5. Select OK
Utilizing the list you made and utilized as sorting criteria, the aforementioned procedures would immediately sort the data (High, Medium, Low in this example).

Remember that you don’t always have to make the custom list before using it for sorting. You may follow the instructions above, and when Step 4’s dialogue box appears, you can immediately build a list there.
3. Several instances when it can be used
Here are some scenarios in which making and using custom lists might help you save time:
- You can alternatively make a custom list and utilise it if you have a list that you need to manually enter (or copy and paste from another source). You might use product names, regional or country names, or department names from your company as examples.
- You can make a list of the names of your students if you’re a teacher. Thus, you won’t have to bother about manually inputting student names or pasting them from another sheet when grading them the following time. This guarantees that there are fewer opportunities for mistakes.
- when you need to sort data using parameters that Excel does not already support. Making a custom list in Excel allows you to apply your own sorting criteria, as was discussed in the part above.
This concludes our discussion of creating custom lists in Excel.
I sincrely hope this was helpfull