Missing your work when utilising an Excel file is among the worst things that may happen.
This is why practically all Excel specialists advise constantly saving your work (now Excel even has an autosave feature where it saves files automatically).
Although this is a fantastic habit to get into, I advise taking a step further and storing a fresh version of your Excel file each day or each week (depending on how frequently you work on it and how important it is).happen
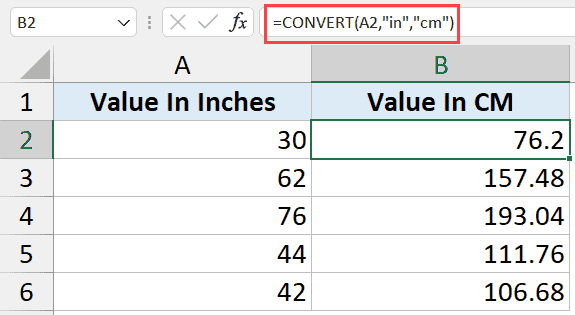
And using Excel’s “Save As” feature is a quick method to save a duplicate of your current file.
You can create a copy of an existing file and give it a new name by using the “Save As” dialogue box (I prefer adding dates to make the name different and easy to keep track of).
I’ll demonstrate a few keyboard shortcuts and practical ways to access the ‘Save As dialogue box.
This tutorial explains:
- How to open the Save As dialogue box using keyboard shortcuts.Excel Save As Shortcut #1
Excel Save As Shortcut #2 - Choose Save As from the Ribbon
- A Save As option has been added to the Quick Access Toolbar.
-
Important Information About Excel’s Save As Function
How to open the Save As dialogue box using keyboard shortcuts.
In MS Excel, there are two “Save As” keyboard shortcuts.
Both are also quite simple to use.
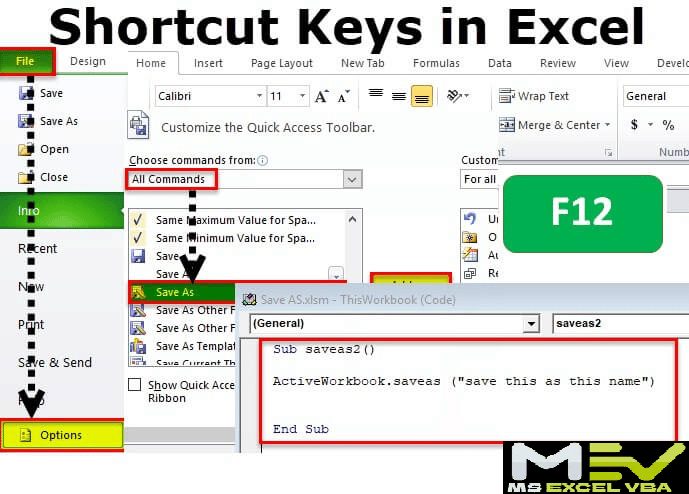
#1 Excel Save As Shortcut
F12
First Save As dialogue box should appear as soon as you press the F12 key, allowing you to give your Excel file a name and designate the location where it should be saved.
If F12 isn’t working for you, try the following shortcut:
Fn + F12
Hold down the Function key while pressing the F12 key to activate the aforementioned keyboard shortcut.
#2 Excel Save As Shortcut
Another keyboard shortcut that will also launch the “Save As” dialogue box is shown below.
ALT + F + A + O
You must press these keys to use the aforementioned keyboard shortcut (one after the other).
The advantage of this shortcut is that it is unaffected by the function keys on your keyboard and always functions.
Choose Save As from the Ribbon:
If keyboard shortcuts aren’t your thing, you may always use the ‘Save As’ button on the ribbon.
Even while it might not be the quickest method, it only takes a few clicks to access the “Save As” dialogue box (so not too much work either).
Here are the steps to use the ribbon option to launch the “Save As” dialogue box:
- Choose the “File” tab.
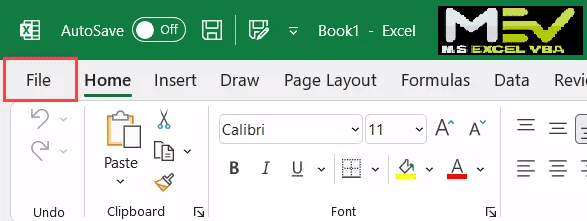
2. Select “Save As” from the menu.
3. Choose “Browse” from the menu.
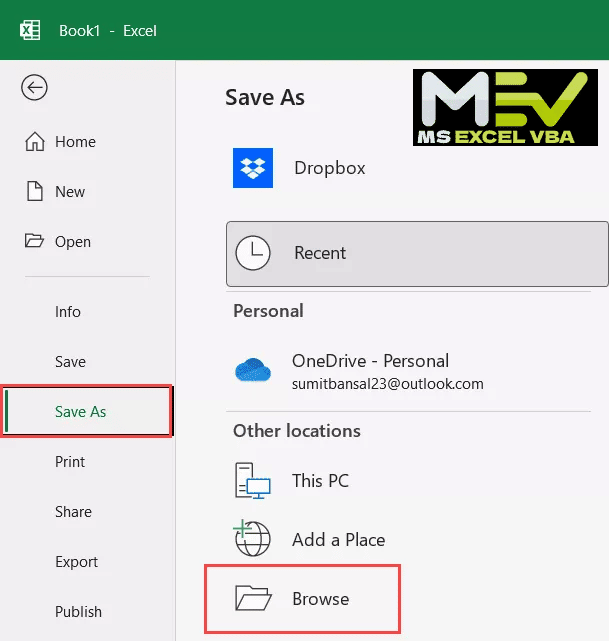
The ‘Save As’ dialogue box would likewise be opened by the aforementioned methods.
A Save As option has been added to the Quick Access Toolbar:
There is another quick method that simply requires a click to access the Save As dialogue box if you don’t like keyboard shortcuts.
You must incorporate the Save As option into the Quick Access Toolbar to make that happen (QAT).
The procedures to add the “Save As” icon to the Quick Access Toolbar are listed below:
- Right-click any of the ribbon’s tabs.
- Select “Customize the Ribbon” by clicking.

Click the ‘Quick Access Toolbar option in the left pane of the Excel Options dialogue box that appears.
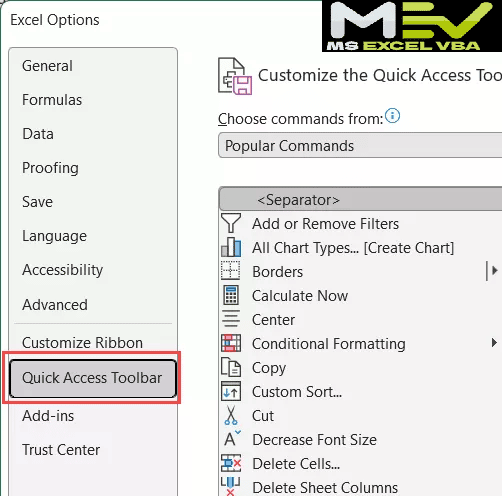
3. Choose the “Save As” option from the list of commands by scrolling down.
4. Press the Add button.

5. Click “OK”
By doing the aforementioned procedures, the save as icon would be added to the Quick Access Toolbar, which is always observable above or below the ribbon (unless you have specifically hidden it).
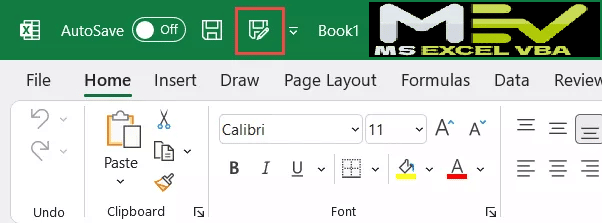
Once the “Save As” icon has been added to the QAT, you can easily access the dialogue box by clicking once. Even though this is not a keyboard shortcut, it is far quicker than using the File tab on the ribbon to reach the same option.
Important Information About Excel’s Save As Function
You should be aware of the following when using Excel’s save as dialogue box:
- It is not possible to save an Excel file with the same name as another Excel file already present in the folder. Either you must select an alternative name, or Excel will replace the old file with the new one.
- It’s a good idea to include the date or date and time in the file name when you save a duplicate of an Excel document—in my experience, taking a little extra time to correctly name your file can save you a lot of time.
- If you add VBA macro code to a file, you must save it as a macro-enabled file.XLSM extension for the macro code to be stored.
Remember that even if you alter the file’s extension, you can keep the same name. For instance, if you add macro code to a file with the name Example.xlsx and click Save As to save it, you can preserve the name Example. xlsm.
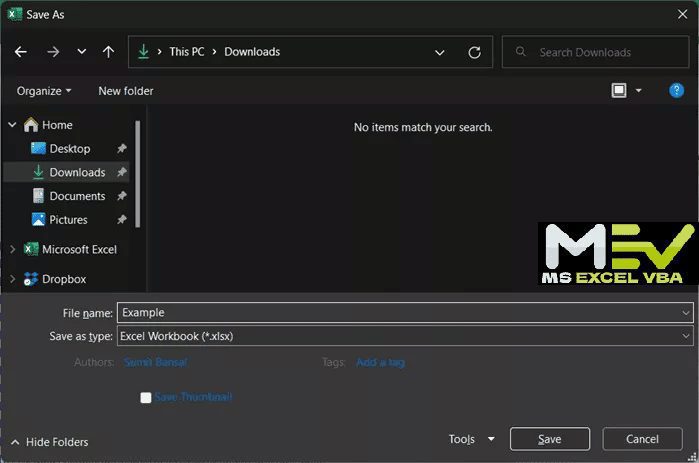
4. The save as dialogue box also allows you to modify the file type. To do this, select the file type you want to save the file by clicking the save as type drop-down menu.
I’ve demonstrated a few keyboard shortcuts in this article that you can use to launch the Save As dialogue box, which allows you to save any new or existing file with a different name to any location.
The process for adding the “Save As” icon to the Quick Access Toolbar, which enables you to quickly enter the “Save As” dialogue box, was also explained.
I sincerely hope this tutorial was helpful.