Excel Shortcut for Selected Entire Column (or Row)
Working with Excel entails interacting with the rows and columns’ cells and ranges.
Additionally, picking complete rows and columns is a regular activity when working with enormous datasets.
There are several ways to pick a column or row in Excel, just like there are for the majority of Excel’s features.
In this video, I’ll go through a few quick techniques for selecting a column or row, as well as a quick shortcut.
I’ll also demonstrate how to accomplish this while using an Excel table or Pivot Table.
Therefore, let’s get going.
This instruction explains:
1. Using a Keyboard Shortcut, select the whole column or row
1.1 Choosing the Whole Row
2. Using the mouse, choose an entire column (or many columns).
2.1 Choose One Column (or Row)
2.2 Choose Several Contiguous Columns (or Rows)
2.3 Choose Several Disjoint Columns (or Rows)
3. Using the Name Box, Select the Entire Column (or More Columns
3.1 Known Range Trick
4. In an Excel table, choose a column
5. In a Pivot Table, choose a column.
1. Using a Keyboard Shortcut, select the whole column or row
The keyboard shortcut will be discussed first.
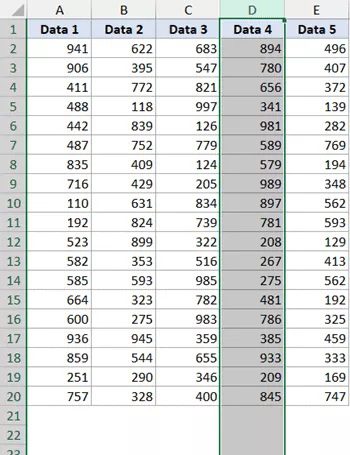
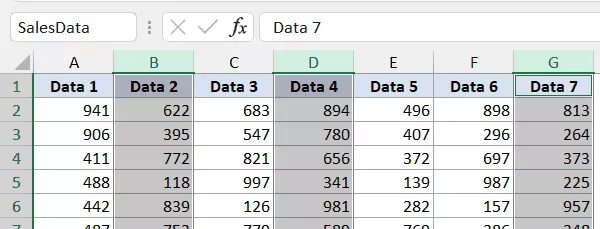
Suppose you wish to choose a complete column in the dataset that is depicted below (say column C).
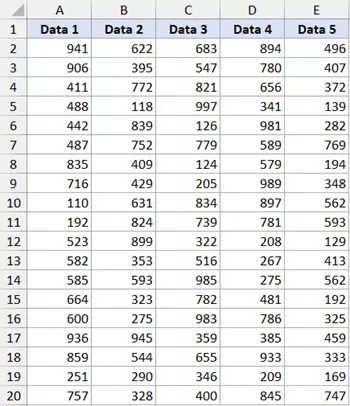
Select any column C cell as the initial step.
When a cell in column C is chosen, use the keyboard shortcut listed below:
CONTROL + SPACE
Press the spacebar key on your keyboard while holding down the Control key.
Use COMMAND + SPACE if you’re using Excel on a Mac.
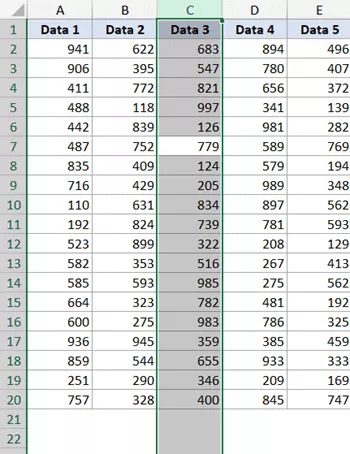
The aforementioned shortcut would quickly select the full column (as you can see, it is chosen when it is highlighted in grey).
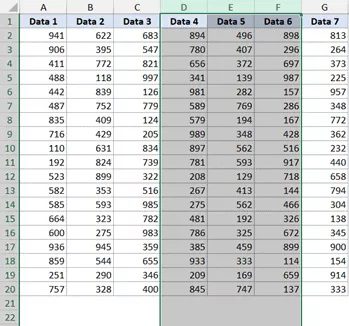
The same shortcut may be used to select numerous adjacent columns. Consider the scenario when you wish to choose columns C and D.
Use the same keyboard shortcut after choosing two neighboring cells (one in column C and one in column D) to accomplish this.
MS EXCEL VBA TUTORIAL
1.1 Choosing the Whole Row
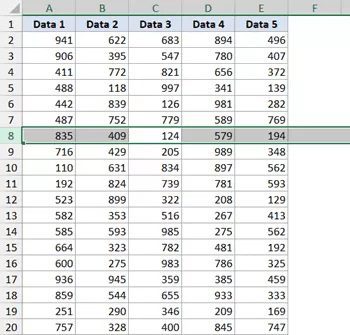
Use the keyboard shortcut shown below to pick every cell in the row if you wish to select the entire row.
SHIFT + SPACE
Press the Spacebar key while maintaining the Shift key pressed.
You will again observe that it gets picked and highlighted in grey.
Pick many nearby cells in the same column if you wish to select several adjacent rows, and then use the keyboard shortcut to do so.
2. Using the mouse, choose an entire column (or many columns).
Although I suspect you already know this technique, I’ll explain it to you anyhow (it will be short).
2.1 Choose One Column (or Row)
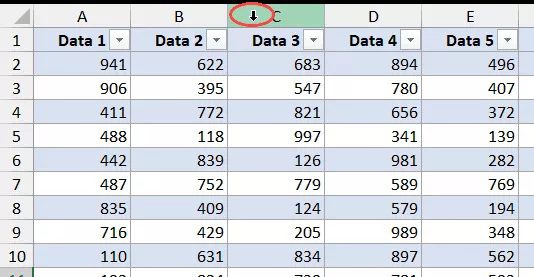
Hover the mouse over the column headers to choose a whole column, such as column D. (where it says D). The cursor will now have a black downward-pointing arrow, as you can see.
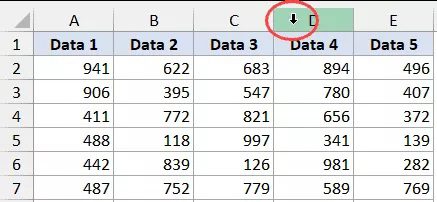
Click the left mouse button now.
By doing this, the entire column D will be selected.
Similarly to that, click on the row number to choose the complete row (in the row header on the left)
2.2 Choose Several Contiguous Columns (or Rows)
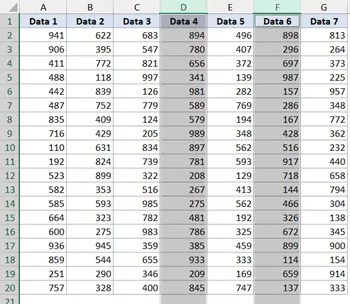
Imagine that you wish to choose many adjacent columns (say columns D, E, and F)
To achieve this, adhere to the procedures below:
- Put the cursor in column D’s leftmost column header.
- Hold down the left mouse button as you click.
- Drag the mouse while holding down the left key to additionally include columns E and F.
By following the above instructions, every column between the first and last specified columns would be automatically selected.
In the same manner, you may choose many adjacent rows.
2.3 Choose Several Disjoint Columns (or Rows)
When you need to choose several columns that are not adjacent to one another, this is the most typical situation (say columns D, and F).
The procedures are as follows:
- the column header of one of the columns with the cursor (say column D in this case)
- To choose the column, press the left mouse button.
- Hold down the Control key.
- Select all of the additional columns you wish to select while holding down the Control key.
Rows can also be used in the same way.
3. Using the Name Box, Select the Entire Column (or Multi Columns)
When you need to, use this technique to:
- Choose a distant row or column.
- Choose several consecutive or nonconsecutive rows and columns.
A little box to the left of the formula bar is called the name box.
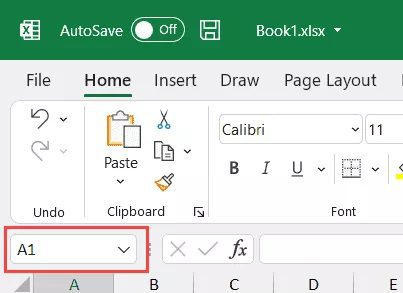
The Name Box may be used to swiftly choose any column in addition to its primary function of fast naming a cell or range of cells (or row).
For instance, type the following in the name field and press Enter to pick all of column D:
D:D
Similarly, type the following in the name box to pick several columns (for example, D, E, and F):
D:F
That’s not all, either!
Enter the following if you wish to choose several columns that are not contiguous, such as D, H, and I:
D:D,H:H,I:I
This method was really helpful to me years ago when I worked as a financial analyst. I could rapidly choose many columns, format them all at once, or instantly hide or eliminate them.
3.1 Known Range Trick
Let me also demonstrate a beautiful new technique for you.
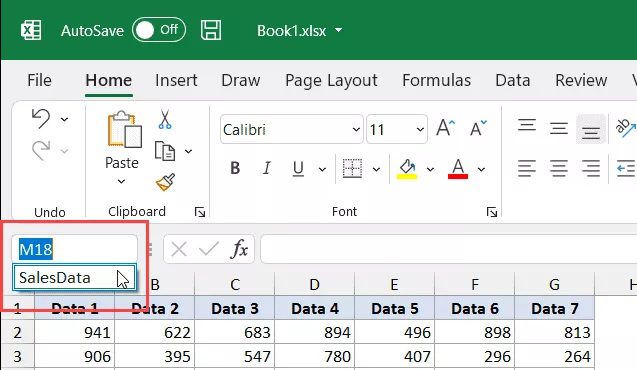
Imagine you’re working on a worksheet where you frequently need to choose distant columns (say columns B, D, and G).
You may establish a named range that refers to the columns you wish to pick rather than doing it one at a time or manually typing it in the Name Box.
Once made, all you have to do is type the name of the designated range in the Name field (or select it from the drop–down)
The procedures for making a named range for particular columns are listed below:
- Decide the columns you wish to include in the named range (hold the Control key and then select the columns one by one)
- In the Name Box, type the name you want to give the choice (no spaces allowed in the name). Here, I’ll use the name Sales Data as an example.
- Tap “Enter”
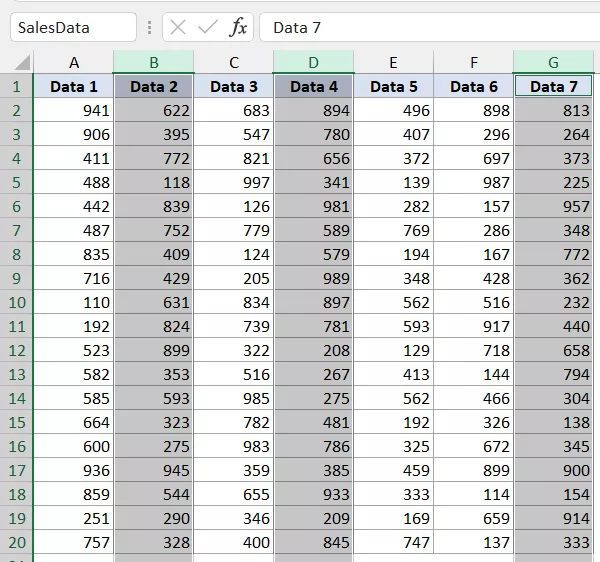
Once you’ve completed this, Excel will have generated a named range for the columns you choose (B, D, and G in my example).
It’s time for magic now.
Simply type the name in the Name field and press Enter to rapidly choose the columns B, D, and G. (or click on the small drop-down icon at the end of the name box and select the name from the list).
The columns would all be picked in a flash.
If you frequently need to choose the same columns in a single sheet, this method might be helpful.
This method may be used to pick rows as well as other ranges. For instance, use the identical procedures in Excel to choose two different ranges (instead of selected columns, select the ranges and give them a name).
4. In an Excel table, choose a column
You might occasionally need to pick a whole row or column in an Excel table when dealing with it.
This indicates that you should choose the complete column of the table rather than the entire column in the worksheet.
Here’s how to pull this off:
- Put the cursor on the Excel table’s heading (note this is the header of the column in the Excel table, not the one that displays the column letter)
- You’ll see that the cursor changes into a black arrow that points downward.
- Press the left mouse button.
In the Excel Table, the aforementioned procedures would pick the whole column (and not the full column).
Additionally, if you wish to pick numerous columns, hold down the Control key while carrying out the procedure each time.
5. In a Pivot Table, choose a column.
Similar to the Excel table, a Pivot Table also allows you to rapidly choose a whole row or column.
Suppose you want to choose the Sales columns in the Pivot Table below.
The procedures are as follows:
- Decide which Pivot table heading you wish to pick by placing the cursor there.
- You’ll see that the cursor changes into a black arrow that points downward.
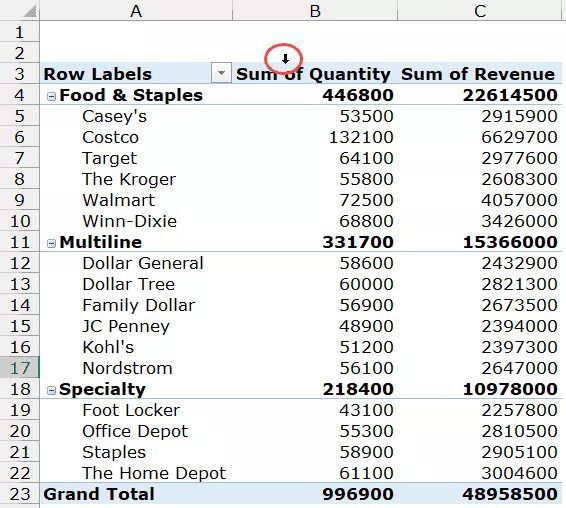
- Press the left mouse button.
In this manner, the Sales column would be chosen. Similar to this, hold down the Control key while making your pick to choose numerous columns.
These are some of the typical methods you may use in Excel to pick a whole column or row.
I sincerely hope this instruction was helpful.