Skip to content
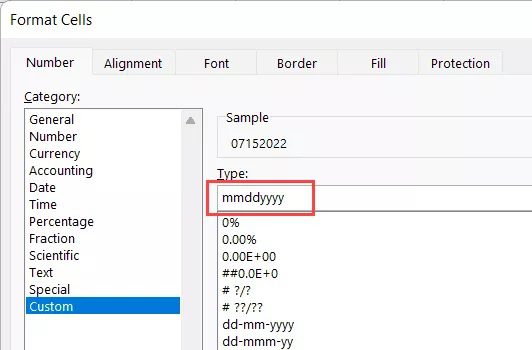
How do you convert a date to a serial number in Excel (3 Simple Ways):
A number can be shown in an Excel cell in various ways. And displaying a number as a date is one of the formatting options (for that corresponding serial number)
Even if a date appears in an Excel cell, it is kept as a number.
In some conditions, you might choose to display the serial number it represents rather than the date. For instance, you could wish to display the number 44926 in a cell rather than the date December 31, 2022.
In This Lesson, I’ll demonstrate some quick methods you may use to change a date in Excel into a serial number. Additionally, I’ll demonstrate a technique for using dates that are in text format.
This instruction discusses:
1. How Can I Convert A Date In Excel To A Serial Number? 1.1 Using the Ribbon's Format Drop-down (Quick Method) 1.2 Format Cells Dialog Box Use (Gives More Control) 2. The date in Text Format is changed to a Serial Number (Using DATEVALUE) 3. Date to Number Conversion in DDMMYYY or MMDDYYYY Format
How Can I Convert A Date In Excel To A Serial Number?
Dates are kept in Excel’s database as numbers, as I already said.
Therefore, all you need to do to display the serial number instead of a date in a cell with a date is to modify the format of the cell.
To quickly turn any date into a serial number, you may use the ribbon option, which offers you more power or utilize the custom formatting dialogue box.
Here, let me demonstrate both of these techniques.
1.1 Using the Ribbon’s Format Drop-down (Quick Method)
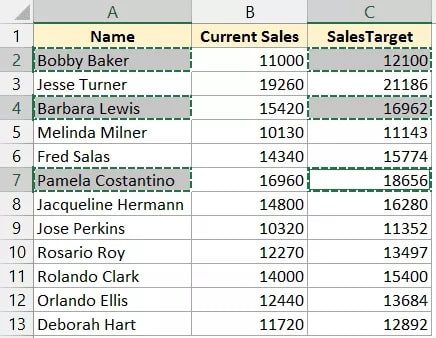
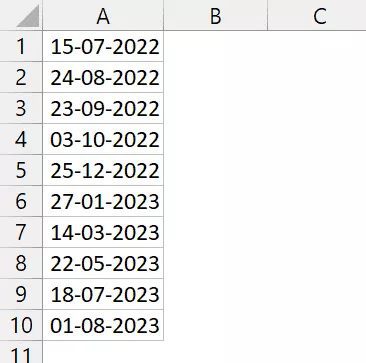
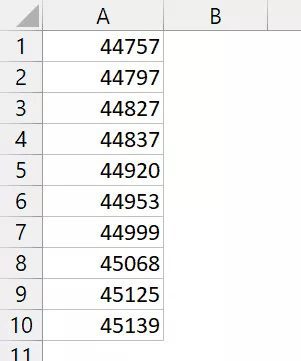
I want to convert the dates in column A of the table below into numbers.
The steps are as follows:
- Pick every date in Column A.
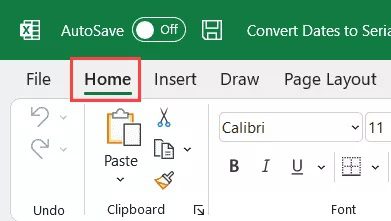
- Go to the Home tab.
- Click on the Format drop-down in the Number category.
- Choose Ga general
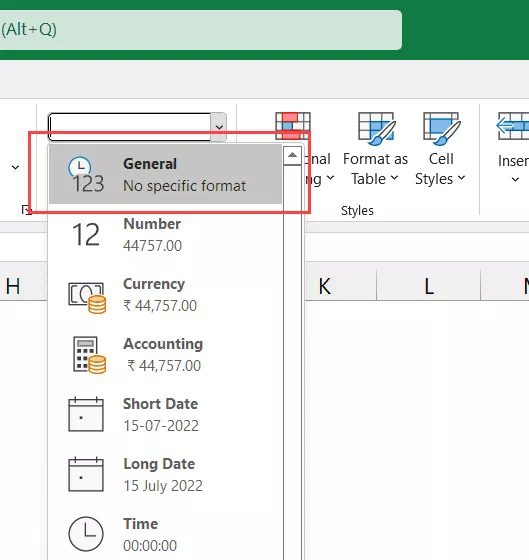
The aforementioned actions would instantaneously change all of the cells’ format from Date to General.
If no special formatting has been used, a number would simply be displayed as a number in a standard manner (and if there are dates in the selected cells, these would be converted back to their serial numbers)
Keep in mind that this approach will only function if the date in the cell is formatted in a way that Excel interprets as a date. Because Excel does not accept "Dec 3, 2022" or "12 31 2022" as valid date formats, These dates will not be converted into their serial numbers.
I’ve included a few Excel date formats that are often used below.
| Valid Date Formats in Excel |
|---|
12-31-2022 |
| 31 Dec 2022 |
31 December 2022 |
| 31-12-22 |
31.12.2022 |
1. 2 Format Cells Dialog Box Use (Gives More Control)
Using the Format Cells dialogue box would be a fantastic additional method for displaying dates as numbers.
Although it also converts the cell formatting from a date to a number, this approach allows you a bit more control than the one we used earlier in which we utilized the Format drop-down and selected the General option.
Here are the steps to turn the dates in column A, where there are commas, into serial numbers,
assuming I have the same data set:

The ‘Format Cells’ dialogue box can be used to accomplish what is shown below:
- Choose every date in Column A.
- On the Home tab, click
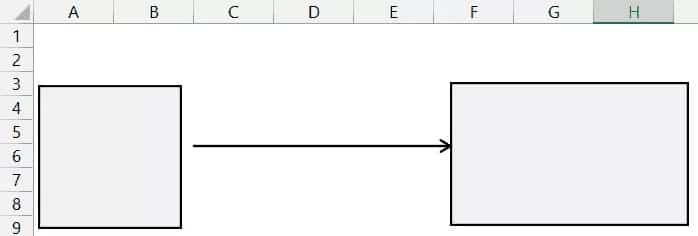
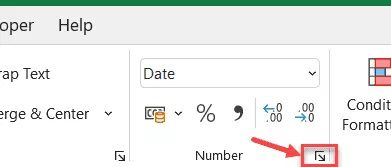
- Click on the little dialogue box launcher (the tipped arrow as seen below) in the Number group.
- Make sure the Number tab is selected in the Format Cells dialogue box.
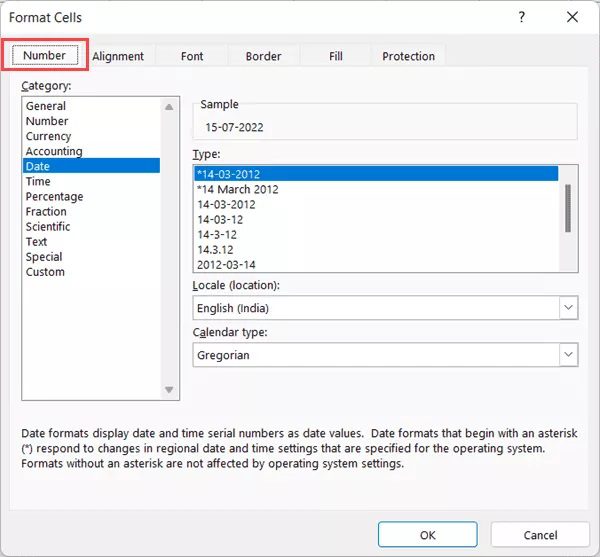 Choose the Number choice from the Category selections.
- [Optional] Specify how many decimal places are required if you need the number to also include them. As I don’t want any decimal values, I will make this 0 in this case.
![[Optional] If you need the number to have decimal places as well, specify how many decimal places you need. In this example, I will make this 0 (as I don’t want any decimal numbers)](https://msexcelvba.com/wp-content/uploads/2022/11/9-1.jpg)
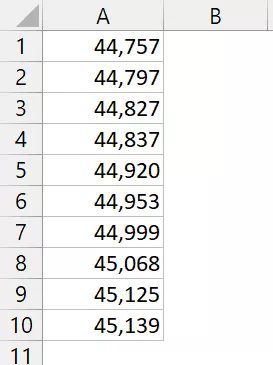
- You may tick the “Use 1000 Separator option” if you want the number to have a thousand separators.
![[Optional] If you want the number to have a thousand separator, you can check the ‘Use 1000 Separator option’](https://msexcelvba.com/wp-content/uploads/2022/11/10-2.jpg)
- Hit OK.
The aforementioned actions would likewise have the same outcome, with the date now appearing as the serial number.
While using the Format Cells dialogue box gives you a lot more control, it may seem like this is a more time-consuming option to convert dates to numbers. You can choose if you want decimal places or 1000 separators.
In addition, it displays a choice for you to make over whether to display negative numbers in red (with or without a negative sign). Naturally, this isn’t very helpful because, in Excel, a date can never be negative.
It also displays a checkbox for showing negative numbers in red
if you want (with or without a negative sign).
The fact that a date in Excel can never be negative makes this not very useful.
The date in Text Format is changed to a Serial Number (Using DATEVALUE)
You may easily modify the cell format to display the serial number rather than the date if you have the dates in the correct format, which implies that they are numbers on the back end (using any of the two methods shown above).
However, you may frequently receive a column of dates with text strings rather than integers at the back end.
This frequently occurs, in my experience, while downloading data from a database via the internet. Recently, I downloaded my bank statement as an Excel file and saw that the date field included text strings.
Additionally, before the date, an apostrophe is frequently added to create a text string.
In these circumstances, modifying the cell format won’t provide you with the date’s serial number.
However, there is a workaround: the DATEVALUE function.
The DATEVALUE function was created especially for this use case; it accepts a date in text format as input and outputs the date’s serial number.
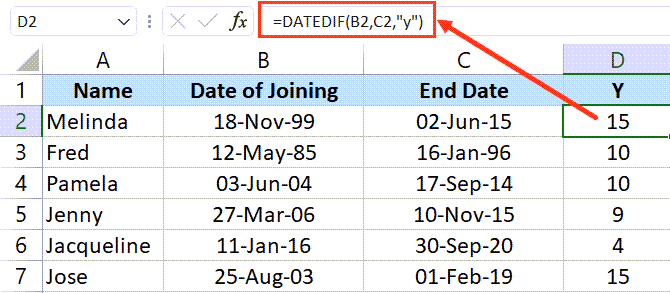
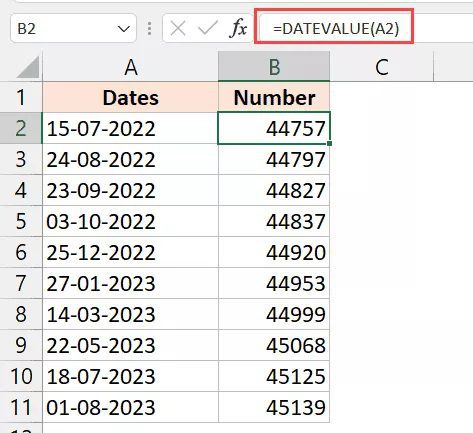
I have a column of dates in text format that I want to obtain the serial number for down below:
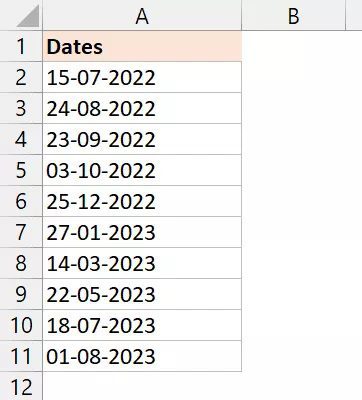
The equation that will achieve this for me is shown below:
=DATEVALUE(A2)
When you have dates in text format and wish to convert them to the correct date format, this method might be handy.
While you cannot do so with dates in text format, you may modify the dates’ formatting after using the DATEVALUE function to turn them into the matching serial number.
The DATEVALUE function only supports text data, so take note of it.
Therefore, this formula would give you a value error
if you had cells with dates in an appropriate format that were saved as integers on the back end.
Date to Number Conversion in DDMMYYY or MMDDYYYY Format:
Users may need to convert a date into an 8-digit number in the DDMMYYYY or MMDDYYY formats in some uncommon circumstances.
In the DDMMYYYY format, 31 December 2022 would be 31122022 and in the MMDDYYYY format, 123 December 2022.
Although it could appear to be a difficult challenge to resolve, Excel’s ability to provide your custom formatting makes it a simple process.
Column E of the table below has certain dates that I wish to display in the 8-digit MMDDYYYY format.
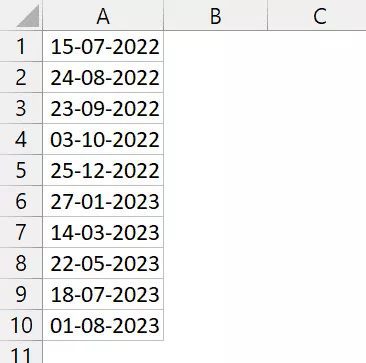
The steps are as follows:
- Select every cell that has a date in it.
- While maintaining control, hit the 1 key. The Format Cells dialogue box will then be shown. Use the Command key on a Mac instead of the Control key.
- Ensure the ‘Number’ tab is chosen in the format cell dialogue box.
- Go to the Category choices and choose “Custom.“

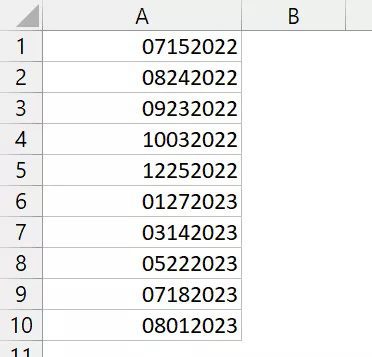
- Enter “mm dd yyyy” in the Type area.

- Click “OK”
The aforementioned procedures would update the chosen cells’ format and ensure that any numbers are shown using the MMDDYYYY format.
Keep in mind that this would only function if the cells had numerical values. This wouldn’t function if your values were entirely text values or numbers that were displayed as text.
Use (DDMMYYYY) in step 5 if you wish to display the dates in the (DDMMYYYY) format.
I demonstrated in this article how to do a date-to-serial number conversion in Excel. By modifying the cell format using the Format Cells dialogue box, you may obtain the serial number if the dates are formatted correctly (that is, they are numbers on the back end) (or the General option in the Ribbon).
Use the DATE VALUE function to transform dates that are in text format into matching serial numbers if you have any.
Additionally, I explained how to change dates to the 8-digit format, which is (MMDDYYYY or DDMMYYYY).
I hope you learned something from this Excel tutorial.
Learn More Tutorial