Making Rows and Columns Automatically Fit the Text in Excel
When you input anything that takes up more space than the usual row height and column width in Excel, you’ll find that it spills outside of those boundaries (as shown below).

To fit the text in the cell in certain circumstances, you can modify the rows and columns (so that the text is completely within the cell).
The Excel AutoFit function may be used for this.
I’ll demonstrate many different methods to utilize Autofit in Excel in this lesson. In addition, I’ll go through some more Excel capabilities you may utilize when working with text data.
This instruction explains:
1. Which Excel AutoFit is it?
2. Excel AutoFit Techniques (Adjust Rows and Columns to Fit Text)
2.1 Mouse Double-Clicking
2.2 Excel Ribbon use
2.3 Using a Shortcut on the Keyboard
3. Not Working for AutoFit (Possible Solutions)
3.1 after cells have been combined
3.2 Following the application of wrap text
4. Excel substitutes for the AutoFit option
4.1 Cover Text
4.2 Reduce to Fit
1. Which Excel AutoFit is it?
If you input anything in an Excel cell, you’ll notice that it spills when the amount of text or data is more than the column’s width.
Excel’s AutoFit tool enables you to easily change the row height or column width to perfectly match the text (so that there is no spilling over to other cells).
Additionally, using AutoFit eliminates the need to explicitly select the column width and row height (or manually drag and adjust the column width). Because it is automatic, it will determine how much to expand or shrink to accommodate the contents of the present cell.
AutoFit Column Width: Using this function, the column width is automatically changed to fit the text in the cell. You can simultaneously fit text into several columns (as we will see later in examples)
Row height is automatic: adjusted by the autofit row function to fit the text in the cell. Multiple rows can be autofitted at once.
When you add many lines in a single cell, you will typically see that Excel automatically changes the row height. You won’t need to modify the row height in those circumstances.
However, occasionally you could obtain a dataset from someone or download one where the row height has already been fixed and has to be changed. In that situation, you can make advantage of the “AutoFit Row Height” option.
2. Excel AutoFit Techniques (Adjust Rows and Columns to Fit Text)
In Excel, there are several techniques to autofit:
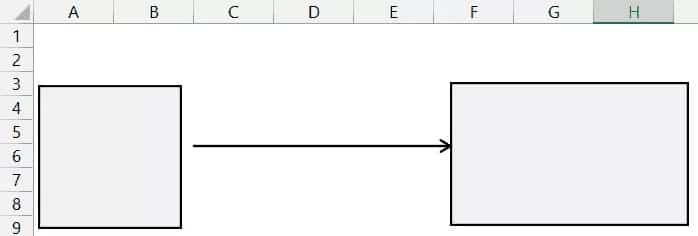
- Using the double-click approach on a mutualizing
- utilizing the ribbon’s AutoFit option
- making use of a keyboard shortcut
All of these techniques are effective, so pick the one that suits you the best.
I often utilize the mouse double-click technique since I believe it to be the most practical.
2.1 AutoFit Columns and Rows/ Mouse Double-Clicking
Assume you have a dataset like the one below, where the text overflows onto the adjacent column when the width of that column decreases.

Here’s how to use the mouse to automatically adjust column width:
- Place the cursor on the column header’s right border.
- The pointer would then shift to a double-sided arrow icon.

- Use your mouse’s left key twice (or the trackpad)
I’m done now!
You would see that the column width automatically adjusts to fit all the cells so that text does not spill over into adjacent cells. Keep in mind that the column width has been increased to accommodate the cell that requires the most space.

The double-click technique may likewise be used to change numerous columns at once.
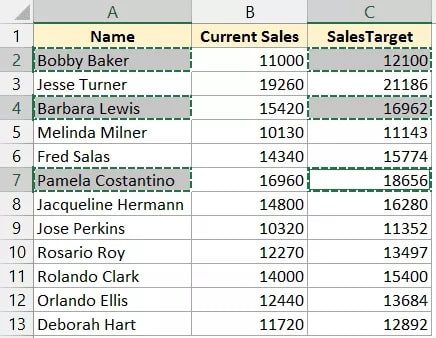
Assume you have the dataset below, which has two columns with text that has to autofit.

To automatically adjust column width using the mouse, follow the instructions below:
- In this situation, columns A and B are the only columns that need to be automatically fitted.
- Place the cursor at the right border of the column header with both columns selected.
- The pointer would then shift to a double-sided arrow icon.

- Use your mouse’s left key twice (or trackpad)
Once you do this, it will automatically fit both of the chosen columns (as shown below)

Keep in mind that you must choose the complete column and not just a few cells for this to function.
It is possible to automatically fit text to rows as well as columns, but columns are more frequently required. Simply position the cursor at the bottom edge of the chosen row, then double-click.
2.2 AutoFit Columns and Rows/ Excel Ribbon use
Using the ribbon’s option to autofit cells in Excel is another easy method.
Assume you wish to autofit Column A in the dataset as shown below.

The procedures are as follows:
- Choose the column that needs to be autofitted.
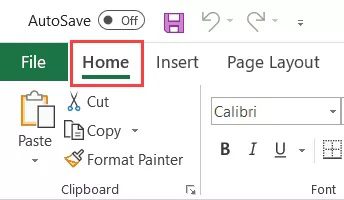
- On the Home tab, click
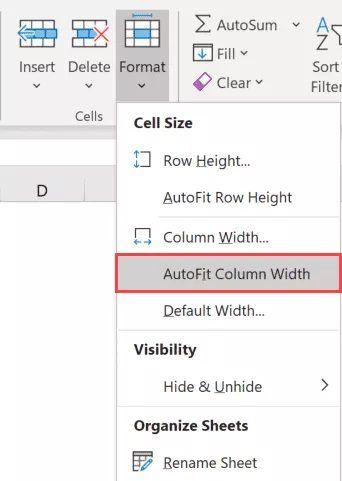
- Click on the “Format” link under the “Cells” group. The drop-down menu will display more possibilities as a result.
- Select “Autofit Column Width” from the menu.
The aforementioned actions would instantaneously extend the column so that the text in the cells could be changed.
The same procedures may be used to automatically adjust row height as well. To achieve that, you must first choose the rows that you want to autofit before choosing the ‘Autofit Row Height’ option.

2.3 AutoFit Columns and Rows/ Using a Shortcut on the Keyboard
This technique is for you if you don’t like using the mouse and would rather utilize a keyboard shortcut.
The keyboard shortcuts for autofitting the cells are shown below:
Automatically fill the column width
ALT + H + O + I
Row height autofill:
ALT + H + O + A
These keyboard shortcuts can be used as follows:
- Pick the row or column you wish to autofit.
- Using a series of keys, use the keyboard shortcut. For instance, to use the shortcut ALT + H + O + I hit ALT first, then H, and so on (in succession).
3. Not Working for AutoFit (Possible Solutions)
While Autofit generally functions effectively, there are situations when you can discover that this functionality is ineffective.
It may not work for a variety of reasons, and in many instances, it may work one day and not the next.
The following are some potential causes of autofit malfunctioning in Excel:
3.1 After cells have been combined
When your Excel has merged cells, Autofit occasionally refuses to function. If you’re using an ancient version of Excel, this problem is well-recognized (2003 or prior versions).
Even Microsoft has acknowledged this problem. The only solution if this occurs to you is to manually set the row height or column width.
3.2 Following the application of wrap text
When you try to autofit a row after applying text wrap to a cell, you could notice that there are some additional spaces at the bottom or top of the row.
These characters lack space. This is merely a place that doesn’t serve any use. Occasionally, adjusting the column width eliminates this. Additionally, the row may always be manually resized (or right-click and use the row-height option to specify the row height value)
When you apply wrap text to a cell and attempt to autofit the column, autofit may also fail in this situation. This is more a result of design than autofit not working. Excel doesn’t know what column width it should use when you autofit since you applied it to wrap text, which prevents it from knowing.
In the end, wrap text simply refers to the act of wrapping text such that it stays inside the cell. Attempting to autofit the column won’t help in this situation. The column width can, however, be changed manually.
4. Excel substitutes for the AutoFit option
While autofit is generally what you want, several other choices can improve the way your data is presented (especially in cases where autofit is not the way to go).
4.1 Wrap Text
Although autofit is often what you want, several more choices can help you show your data in a better way (particularly in situations where autofit is not the best option). If a cell has a lot of text, autofitting the column will cause the cell to grow and the column to become enormous.
This might not be the best method to display your data; instead, a wider row and smaller column could make more sense.
The content of the cell stays within the cell when wrap text is applied to it. You are then able to automatically adjust the row height to match the column width after selecting the desired column width.
Or the reverse…
To ensure that the text is all the cell content visible and within the cell, use auto-fit to modify the column width after adjusting the row height to your desired level.
4.2 Reduce to Fit
Shrink to Fit is an additional choice you have.
When you use “Shrink to Fit” on any cell, it just changes the cell font to fit everything in the supplied column width, unlike Autofit, which modifies the column width or row height.
For instance, if you have text in a cell that overflows over into other cells, applying Shrink to Fit to this cell will reduce the font size of the cell to fit the content of the cell in the current column width.
The steps to apply the “Shrink to Fit” format on a cell are as follows:
- Choose the cells to which “Shrink to Fit” should be applied.
- Press the 1 key while holding down the Control key (this will open the Format Cells dialogue box)
- Navigate to the ‘Alignment’ tab.
- Check the “Shrink to Fit” box under the “Text Control” choices.

It should be noted that cells with the ‘Wrap Text’ applied do not respond to the Shrink to Text command.
These are a few applications for Excel’s Autofit rows or columns. Additionally, I discussed several potential reasons why autofit could not function properly on your machine as well as various Excel workarounds.